Table of Contents
Did you know that making video tutorials is one of the best ways to get known in your industry?
A recent study from Wyzowl shows that 86 percent of businesses use video as a marketing tool, and 92 percent of marketers say video is an important part of their marketing strategy. Also, a staggering percentage of businesses who use video as their communication tool believe that it has increased user understanding of their product or service.
There is no doubt that tutorial videos have the power to guide viewers on the proper way of using a product or a service. Such a discovery changes how businesses operate and engage with their customers and networks.
For your elearning business though, the use of tutorial videos becomes even more powerful.
A video is an excellent addition to online learning, and as a tool that wakes up the human visual sensors, it can do all the following:
Most fast-growing online courses are largely video-based, and no wonder why.
Table of contents
So if you want to learn how to make a good tutorial video, you have come to the right place.
In this article, we guide you through all the steps you need to take and share some successful video tutorial examples to help you gather inspiration.
The process of creating video tutorials is easy, but there are a few considerations you need to take into account. The following guidelines can help you plan for it effectively, ensuring that you are giving your video tutorial some proper structure.
5 Steps to Making a Tutorial Video
1Plan your video content
First, come up with an interesting topic that people want to learn more about. Take the time to create a learning goal, and come up with some great content that supports it.
The best way to do this is to research what problems people in your community face. Brainstorm with a few topic suggestions while making sure they match your target audience’s needs. Then create a storyboard to structure the steps you are planning to go through in your video to reach your goal, having in mind what your learners can actually gain from it.
Finally, show them what they can achieve once they finish watching the tutorial. For example, you can show an image that presents the final result they can get once they watch it on the video thumbnail.
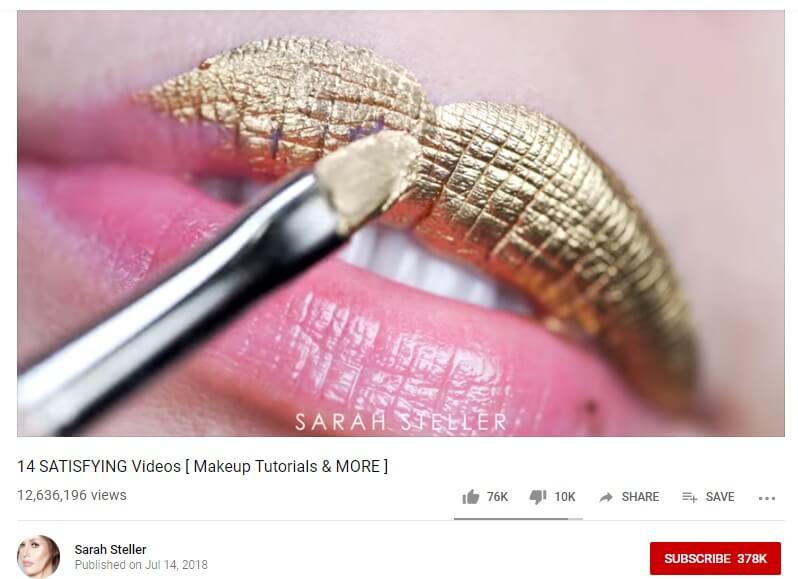
Examples from YouTube Videos


2Write your script and practice it
The second step is preparing the video script with bullet points for each storyboard slide or video ‘scene’ like you would do when giving out a presentation. Start out strong, but make sure to avoid a long intro.
Instead, prefer to use an impressive quote, smart statistics, an intriguing question, a joke, a metaphor, or anything that relates to your topic and can grab the attention of viewers within the first 3 to 6 seconds.
While practicing your script, remember:
Be yourself: it’s important that you come out as naturally as possible to help students relate to you better.
Keep it short: aim for getting 3 to 10 minutes of video, dividing it into subtopics. The largest video might go up to 45 or 1 hour, but this is uncommon and depends on the topic.
It’s OK to go off topic at times: 10 seconds interval of saying something irrelevant makes the video more fun and interactive and eliminates tension e.g. using humor or telling a joke.
Don’t be afraid to make mistakes: when it happens to make a mistake, just acknowledge it, fix it and move on (or edit the video and cut the clip out).
Remember to summarize and focus on key points: tell your audience what you want to say, say it, and in the end, refer to the key takeaways of the video.
Thank viewers for their time: don’t forget to thank your learners for staying up till the end of the video (even though they didn’t do so).
Once you are done, run through the script again to make sure it sounds natural and you feel comfortable with the material. When your speech becomes smooth and you are confident about the main concepts you noted down, you can start the video recording.
Pro tip: if you want to help your learners understand what’s been said in the video, you can create a keynote guide, annotations, callouts, transitions, subtitles, or transcripts, and add them below the video for them to follow.
3Record your audio and screen
Then, decide if you want to do a voice-over using a blackboard for your tutorial or show your face on the screen. Generally, it’s good practice to choose the instructional style that works for you. For the first option, you will need to record your voice-over before writing down the script. This makes sense so that you avoid last-minute changes and audiovisual synchronization issues.
For the second option, you will need to practice in front of the webcam. Also, you will need to find a quiet place to record your video. If there isn’t any at your house, create a tidy little corner that has enough light to make you look good – and not Frankenstein-type dark.
To do so, you need to make sure to choose good audio, camera equipment, and video creation software. You can also use an AI video generator for this. This is important because high-quality equipment can improve the quality of the sound, your video as well as the lighting setup.
💡 Learn how to choose the best lighting setup and equipment here.
While you are there, make sure to choose a good microphone and any of the following screen recorders & video editing tools to help you out:
Choose the tutorial video maker that works best for you. Each tool has its own advantages and disadvantages. A screen recording tool you have used before might be a better choice than trying to learn a new one but reviewing the features and whether it will work for your style of tutorial videos is important.
Be mindful of the pricing as well. Many software are limited on their free versions or low plans. Making a free video with a software might come with a watermark.
4Edit the video and ask for feedback
Perhaps the most entertaining part of the process is when you get creative with your video. At this point, you record your video, divide them into parts and cut the clips that do not work for you. You trim it down to your preferred speed to get the final shoot.
For best results, you can get a second opinion on your video asking people for feedback. Prefer to ask people who have experience in this e.g. your team workers or co-creators, as well as others who do not know much about video content creation e.g. an honest friend. This can help get more accurate feedback coming from the two different and opposing poles.
5Produce and share the video
Once you get the feedback you need and make the changes, you are ready to start sharing the video with the rest of the world. Ask people to promote it on their social media profiles and do the same on yours. This is a very good starting point, as it can get you many shares in just one go.
Apart from social media, you can post it on your course page, as part of your email marketing campaign or your affiliate program, on your blog or Youtube – if you have any, or through promoted posts with paid marketing.
And, that’s it, you are good to go!
P.S.: Read our article on YouTube Monetization as well to better understand how to make money from your videos.
A very important part of creating tutorial videos is screen capture. Usually, screen capturing is used for:
In those cases, you need to choose a good screen recording software that can capture your computer screen.
Here are a few tips to make great screen recordings:
Tips for presentations:
Now that we have covered all the steps to make a video tutorial, it’s time to see how these can be put into practice.
If you are looking for inspiration on creating video tutorials, you can start with the following instructional video examples:
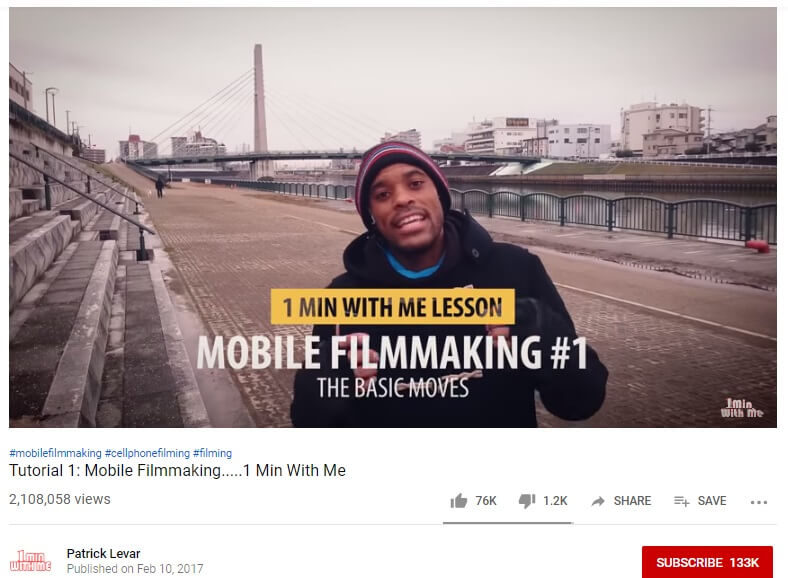
Mobile Filmmaking with Patrick

In this example, Patrick focuses on the result the learner can achieve while watching the tutorial. This is a powerful strategy because it 1) gets their attention immediately and it encourages them to 2) stick with him until the end of the video.
Also, it’s super effective because the topic he chose appeals to a wide audience – people who don’t have a professional camera but use their smartphone alone without spending much money can record super high-quality videos. That’s probably why he got so many views!
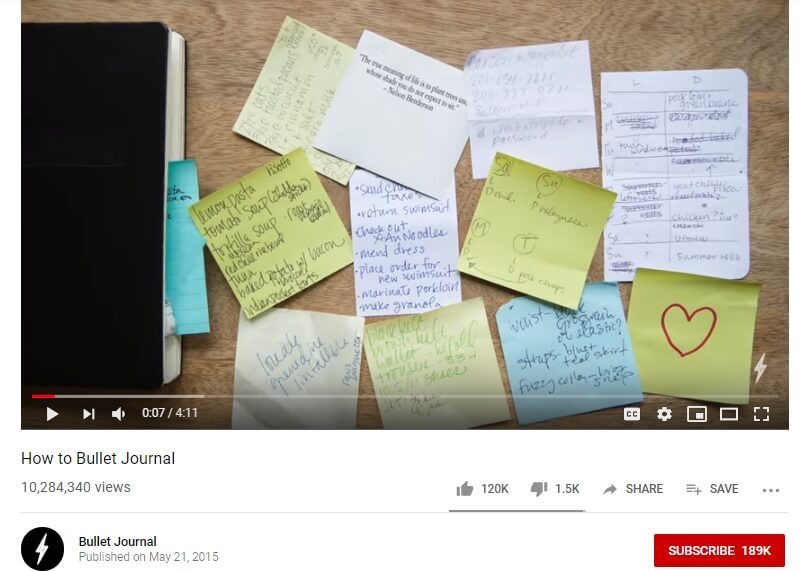
Learning how to bullet journal with Ryder

This video tutorial uses an interactive – animated format without the need for a person to talk on the screen. Ryder here simply introduces himself by saying his name and company name. That’s all he needs anyway. The video is perfectly speeded and gives time to viewers to understand what’s going on.
At the end of the video, he encourages people to check out his work through his website – a great sales tactic for every edupreneur! This is an excellent example that shows how to create a how-to video presenting only the necessary information.
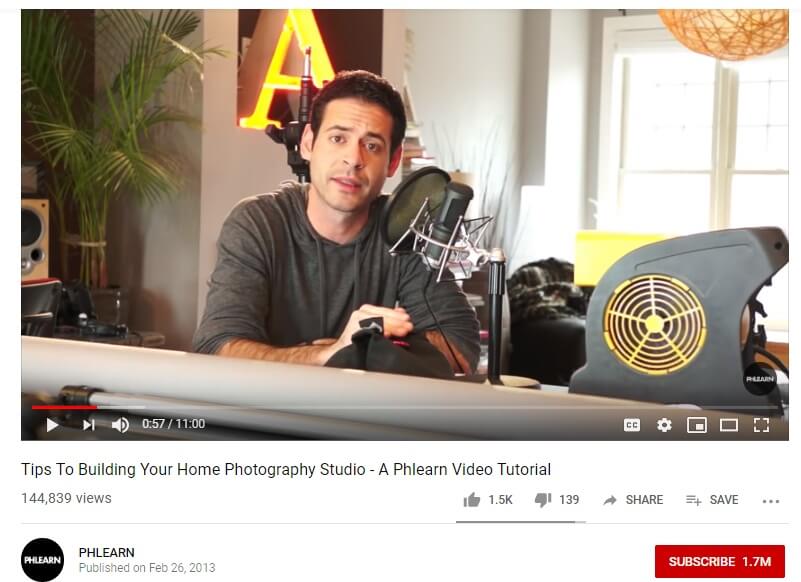
Setting up a home photography studio with Aaron

In this video, Aaron starts with a funny – yet intriguing statement while sharing a secret of the professional ‘insiders’ of his industry. Ideally, this piece of information has real value for people who are really interested in photography. What I like about this is that in the end, he says ‘Share the love’, to encourage people to promote his video further.
While there are no specific guidelines as to how to make a tutorial video for photography, in this case, Aaron experiments with his content and makes it look as if he is having a constructive conversation with his audience.
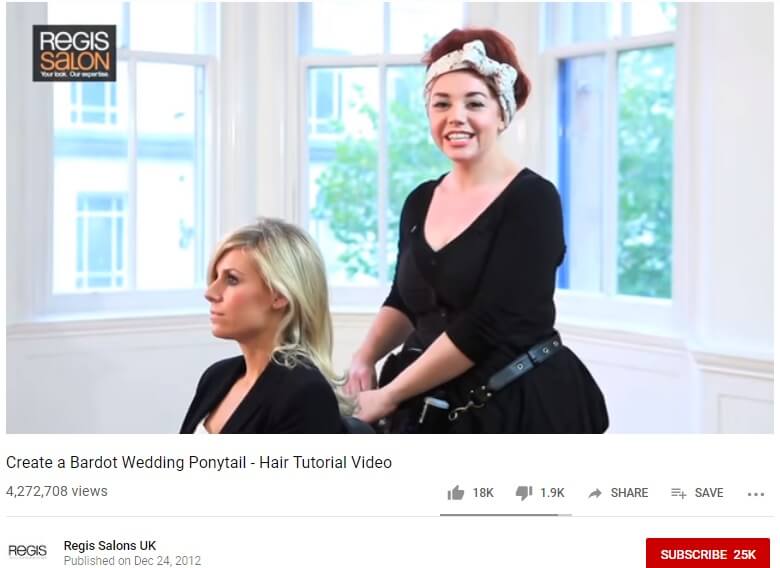
Lorna is giving out some awesome hair styling tips

Lorna from Regis Salons makes sure to explain why she is doing what she is doing on every step throughout her video tutorial. In this video, she has managed to create a very nice background that is filled with light, which makes her look professional – while having all the equipment she needs nearby.
This example shows the best way to record tutorial videos. When you are doing a step-by-step demonstration like this, it becomes crucial to be able to zoom in and out, allowing viewers to see the details behind the process you are describing. To do this however, you might need some extra help.
Great makeup tutorial created with MAC cosmetics

This video doesn’t need much to fulfill its purpose. It’s full of different textures created with MAC products, eye-pleasing images, and colorful clips accompanied by my favorite art form – music. The ad shows that visual and auditory senses, when intrigued, can work perfectly together. Adding music to a video tutorial is an excellent way to make it more engaging when there is no voice-over or any other type of audio.
As you can see, creating a video tutorial isn’t difficult; it just needs some proper planning and ensuring you have the right type of equipment in place.
As long as you take care of these two factors, you can create your first tutorial video just as easily. As you proceed to create more video tutorials for your courses, the process will come naturally to you.
Try it out and let us know how it goes 📹
Good luck 📹
What are video tutorials?
Video tutorials – also known as how-to videos or explainer videos, are instructional videos that are used in educational settings to explain an idea, teach a process or provide step-by-step instructions on how to do something. A video tutorial is often used to provide an example and to offer the information learners need to complete a specific task.
What is the best software for making video tutorials?
Camtasia is one of the best software for making video tutorials. However, there are many other video editing tools that you can use to create video tutorials, including Screencast-O-Matic, and Filmora, to name a few.
What is a good camera to record video tutorials?
The best camera to start creating video tutorials is the one you have. Use your smartphone’s camera or your webcam to start recording video tutorials, but keep an eye on the storage. After you grow your audience and monetize the content, you can upgrade your equipment to more professional video cameras.
Your professional looking Academy in a few clicks
Start FREE TrialFurther reading you might find interesting:
Kyriaki is a Content Creator for the LearnWorlds team writing about marketing and e-learning, helping course creators on their journey to create, market, and sell their online courses. Equipped with a degree in Career Guidance, she has a strong background in education management and career success. In her free time, she gets crafty and musical.
